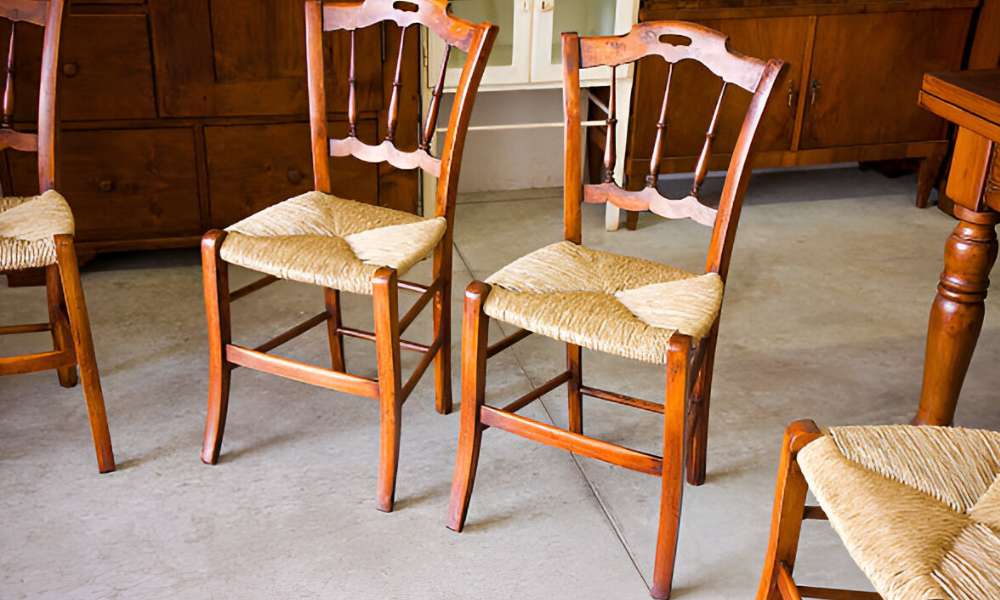
Regular maintenance prevents commonplace troubles like loose joints, wobbly legs, and worn-out upholstery, that may compromise the chair’s stability and look. Over time, each day use can purpose screws to loosen, wood to crack, and fabric to fray. Addressing those troubles early ensures your chairs continue to be practical and appealing. By frequently studying and restore your ingesting room chairs, you no longer only hold their splendor but moreover save money on replacements. This manual will walk you via the crucial steps of dining room chairs repair.
1. Identifying Chair Repair Needs:
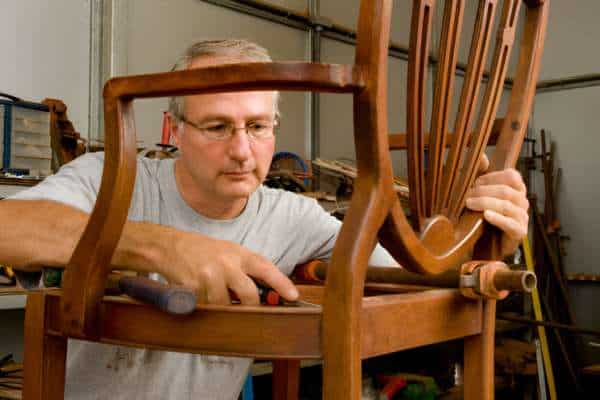
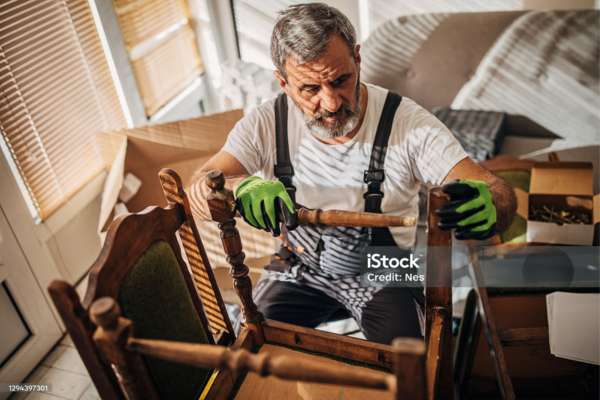
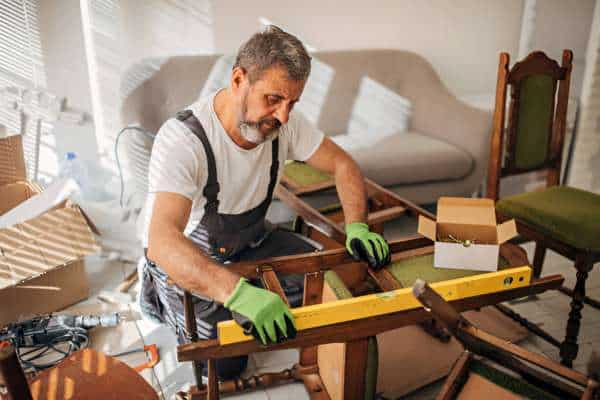
First, assess the structural integrity by checking for loose joints, wobbly legs, or cracks in the wood. Gently wiggle each part of the chair to detect any instability. Structural damage often requires tightening screws, adding wood glue, or replacing damaged parts.
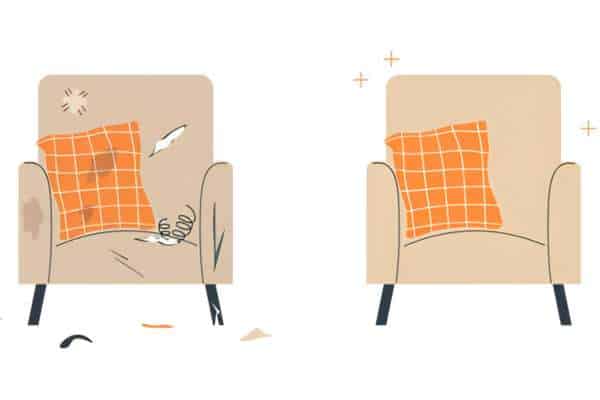
Next, examine the upholstery. Look for signs and symptoms of wear and tear, together with fraying material, sagging cushions, or stains. If the material is worn out, do not forget reupholstering the chairs. Minor troubles like unfastened threads can be fixed without problems, but enormous damage would possibly need expert interest. Identifying these issues early allow you to clear up them right now.
2. Essential Tools for Chair Repair:
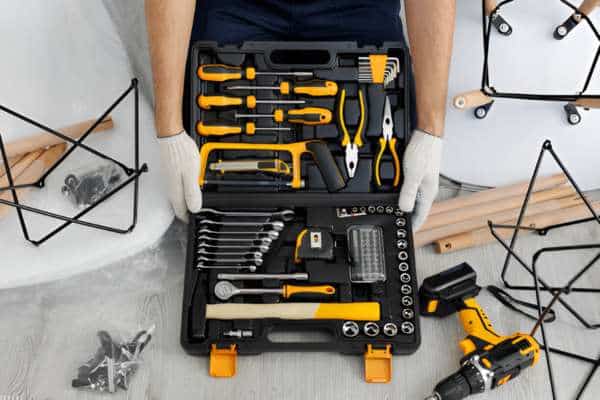
Basic Tools Required:
- Screwdrivers: For tightening screws and removing fasteners.
- Wood Glue: To fix loose joints and cracks.
- Clamps: To hold pieces together while the glue dries.
- Hammer: For gentle tapping and nail adjustments.
- Sandpaper: To smooth rough surfaces and prepare for refinishing.
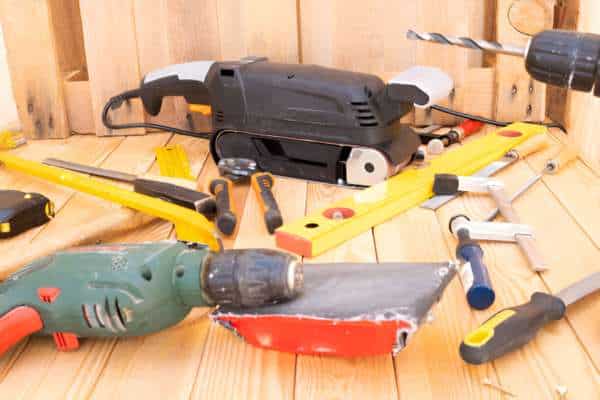
Specialized Tools for Advanced Repairs:
- Power Drill: For drilling new holes and securing screws more firmly.
- Staple Gun: Useful for reupholstering chairs and attaching fabric.
- Wood Filler: To repair deep cracks and holes in wooden parts.
- Measuring Tape: For accurate measurements and fitting new parts.
- Furniture Straps: To reinforce weak or wobbly legs.
3. Safety Precautions Before Starting Repairs:
Safety Gear:
- Gloves: Protect your hands from splinters, sharp edges, and chemicals.
- Safety Glasses: Shield your eyes from dust and debris.
- Dust Mask: Prevent inhalation of dust and fumes during sanding and painting.
Workspace Setup:
- Well-Lit Area: Ensure your workspace is brightly lit to see clearly.
- Ventilation: Work in a well-ventilated space to avoid inhaling fumes from glue and finishes.
- Stable Surface: Use a sturdy workbench or table to keep your chairs steady during repairs.
Handling Tools and Materials Safely:
- Read Instructions: Always read the instructions for any tools and materials you’re using.
- Store Tools Properly: Keep sharp tools and hazardous materials out of reach of children and pets.
- Take Your Time: Work slowly and carefully to avoid mistakes and injuries.
4. Repairing Loose Joints and Wobbly Legs:
One common issue is loose joints and wobbly legs. To fix this, start by tightening all screws and bolts. Use a screwdriver or a wrench to ensure each fastener is secure. Sometimes, simply tightening these can resolve the wobbling.
If tightening screws doesn’t solve the problem, you’ll need to reinforce the joints with wood glue. First, remove the screws and apply a generous amount of wood glue to the joint. Then, reassemble the chair and use clamps to hold the pieces together while the glue dries. This provides a stronger bond and helps prevent future loosening.
5. Fixing Broken Chair Legs:
If a leg is completely broken, you will need to replace it. First, remove the damaged leg by unscrewing or detaching it from the chair frame. Find a matching replacement leg from a hardware store or online retailer, ensuring it is the same size and style. Attach the new leg using screws and wood glue for added strength.
For weak spots that don’t require full replacement, reinforce the leg with metal brackets or corner braces. Apply wood glue to any cracks and clamp the leg until the glue dries. You can also insert wood dowels into drilled holes for extra support. Regularly inspect and repair any weaknesses to prevent further damage.
6. Reupholstering Dining Room Chairs:
Start by choosing the right fabric. Opti for durable, easy-to-clean materials that match your décor. Patterns and colors should complement your dining room’s style.
Step-by-Step Reupholster Process:
- Carefully take off the existing upholstery using a staple remover or pliers.
- Check the cushion for damage. Replace if necessary.
- Measure and cut the new fabric, leaving extra material to wrap around the cushion.
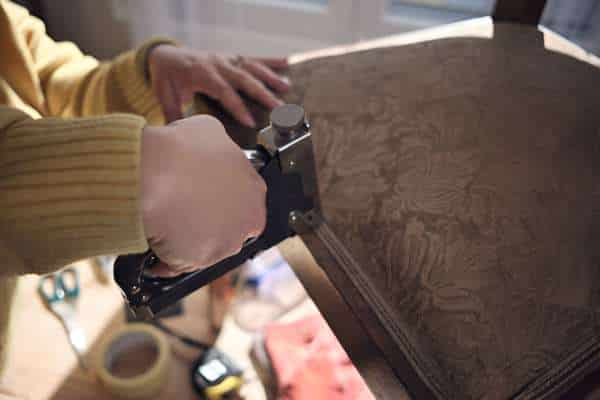
- Place the fabric over the cushion, pulling it tight. Staple the fabric underneath the seat, starting at the center and working outwards.
- Cut off any extra fabric for a neat finish.
- Reattach the seat to the chair frame.
7. Repairing and Refinishing Wooden Surfaces:
Start by means of sanding and smoothing the timber to cast off any scratches, dents, or antique end. Use coarse sandpaper to tackle difficult areas, then switch to finer grit for a smooth end.
Steps for Sanding and Smoothing Wood:
Begin by sanding the wood to remove the old finish and smooth out any scratches. Use coarse-grit sandpaper for initial sanding, followed by finer grits for a smooth finish. Always sand in the direction of the wood grain to avoid scratches. After sanding, wipe the wood with a damp cloth to remove dust. Apply a wood conditioner to ensure an even stain. Finally, apply your chosen stain or finish, following the manufacturer’s instructions.
Staining and Sealing for Protection:
Start by means of making use of a wooden stain with a brush or material following the grain. Allow the stain to penetrate the wood, then wipe off any extra. Let it dry absolutely. Next, practice a wooden sealer to shield the floor. Use a clear polyurethane or varnish, brushing it on lightly. This sealant not handiest protects the wood from damage and moisture but also complements its natural beauty.
8. Replacing Worn-Out Chair Cushions:
Start by selecting new cushion materials. Choose high-density foam for durability and comfort. Opti for a fabric that matches your repair dining room chairs decoration and is easy to clean.
Remove Old Cushions:
Start with the aid of flipping the chair over and locating the screws or staples protecting the vintage cushion in vicinity. Use a screwdriver or staple remover to carefully detach the cushion. Once eliminated, look at the seat base for any harm and repair if wanted. Measure the old cushion to make sure the new one suits flawlessly. Removing the old cushion is step one in giving restored dining room chairs a sparkling and cushy update, after repair ensuring they remain each stylish and useful.
Cut New Foam:
Start by measuring the old cushion to determine the size of the new foam. Purchase high-density foam for better durability and comfort. Lay the foam on a flat surface and use a marker to outline the measurements. With a sharp knife or electric cutter, carefully cut the foam along the marked lines. Ensure the edges are smooth and even.
Cover Foam with Fabric:
Begin by cutting fabric slightly larger than the foam to allow for wrapping. Place the foam on the fabric’s center, then pull the fabric tightly over the foam. Secure the fabric to the bottom of the seat base using a staple gun, starting from the center and working outward. Make sure the fabric is smooth and taut.
Attach the Fabric:
Pull the fabric tightly over the foam and attach it to the underside of the seat using a staple gun. Begin at the center of each side and work your way to the corners, ensuring the fabric is smooth and wrinkle-free. Secure the fabric with extra staples at the corners for a neat finish.
Reattach Cushions:
Use the screws or fasteners removed earlier to secure the cushion to the chair base. Ensure each screw is tightened properly to avoid any wobbling. If the chair had no screws, use a strong adhesive for a firm hold. Double-check that the cushion is securely attached and sits evenly.
9. Repairing or Replacing Chair Springs:
Chair springs can lose their bounce or break over time, affecting comfort and support. Identifying spring issues is straightforward: if the chair feels saggy or you hear squeaking, the springs likely need attention.
Inspect the Springs:
Carefully look at the springs for signs and symptoms of wear, rust, or breakage. Look for any sagging or choppy springs as these suggest a want for repair or replacement. If the springs are rusty or broken, they will need to get replaced to make sure right aid.
Remove Damaged Springs:
First, turn the chair over and take off the seat cushion. Use pliers to carefully detach the springs from their anchors. Be cautious not to damage the surrounding wood or fabric. Once the damaged springs are removed, inspect the frame for any additional issues. Clean the area thoroughly to ensure a smooth installation of new springs.
Replace with New Springs:
Attach the new springs to the frame using pliers, ensuring they are securely anchored. Stretch the springs evenly across the seat base, fastening them tightly to prevent sagging. Double-check that all springs are firmly in place and provide uniform support.
Repair Loose Springs:
Identify any loose springs and use pliers to tighten their connections. If the spring is slightly detached, reattach it securely to its anchor points. For added stability, consider using additional clips or ties. Ensure all springs are firmly in place and provide even support.
10. Tips for Preventative Maintenance:
Regular Cleaning and Inspection:
- Clean dining room chairs with a damp cloth to remove dust and spills.
- Inspect the chairs weekly for any signs of wear and tear, such as loose screws or worn upholstery.
Simple Tips to Extend Chair Life:
- Regularly tighten any loose screws to keep the structure sturdy.
- Place pads under chair legs to protect the floor and reduce wear.
- Keep chairs away from direct sunlight to prevent fading and material degradation.
- Periodically reapply wood finish to maintain the appearance and protect the wood.
- Rotate the use of chairs to ensure even wear.
How to Fix a Wobbly Dining Room Chair?
To repair a wobbly dining room chairs, tighten all the screws and bolts. Apply wood glue to loose joints and clamp them until dry. Replace any damaged parts if necessary. Regular maintenance, like checking and tightening screws, helps prevent wobbling.
How to Repair a Chair Step by Step?
- Tighten all screws and bolts.
- Apply wood glue to loose joints.
- Clamp and let dry.
- Replace broken parts.
- Reupholster if needed. Regularly check for issues to maintain stability.
What Should I Do if the Chair Leg is Broken?
To repair a broken chair leg, remove the damaged leg and clean the area. Apply wood glue to the break and clamp it until dry. If the damage is severe, replace the leg with a new one. Ensure all legs are secure and level to maintain stability.
What Kind of Glue Do You Use to Repair Dining Chairs?
For restore dining room chairs, use fantastic timber glue. It provides a strong bond for joints and cracks. Apply the glue to clean, dry surfaces and clamp the pieces collectively till the glue dries completely. This guarantees a durable and long-lasting repair.
Final Thoughts:
Repair dining room chairs is a achievable mission that can expand the life and splendor of your fixtures. Key steps consist of assessing damage, the usage of the right equipment. By addressing minor problems early and acting preventative upkeep, you may ensure your eating chairs stay robust and attractive.