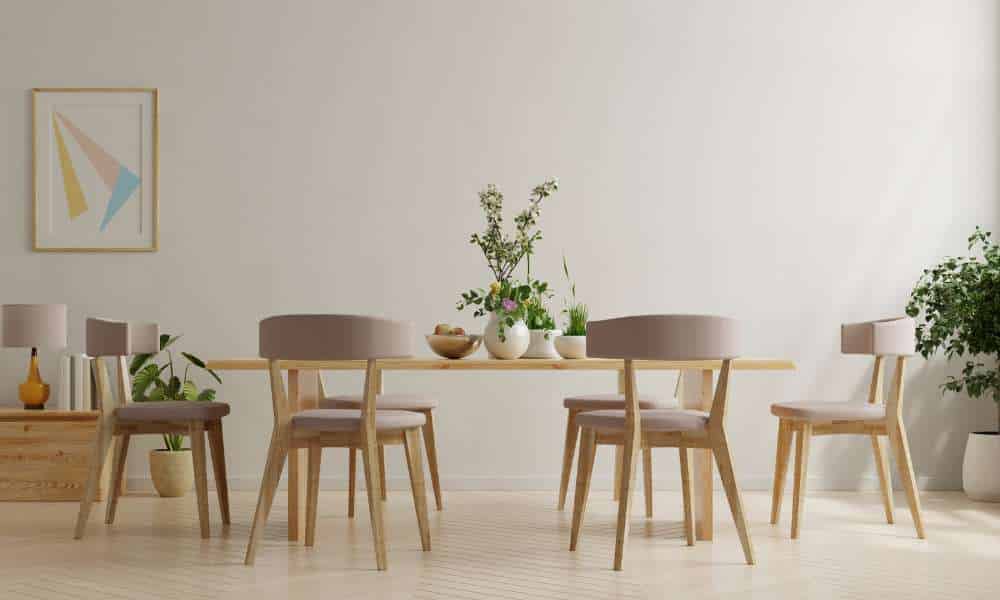
A well-crafted dining room table serves as the heart of your home, bringing family and friends together for meals, celebrations, and cherished moments. Whether you’re a seasoned DIY enthusiast or a beginner looking for a rewarding project, building your own dining room table can be a fulfilling and cost-effective endeavor. This guide will walk you through each step of the process, from planning and design to the final finishing touches. With the right tools, materials, and a bit of patience, you can create a beautiful and sturdy table that reflects your personal style and fits perfectly into your dining space. Let’s dive in and explore the art of making a dining room table.
Planning and Design
Planning and design are crucial steps in building a dining room table that meets your needs and complements your home. Start by choosing the right design that fits your aesthetic preferences and functional requirements. Consider whether you want a traditional, rustic, modern, or farmhouse style. Next, measure your space carefully to ensure your table will fit comfortably in your dining area, leaving enough room for chairs and movement. Selecting the right materials is also vital; popular wood types include oak, pine, and walnut, each offering unique textures and finishes. Additionally, decide on the finish—natural, stained, or painted—to match your interior decor. Finally, create or find a detailed blueprint to guide you through the construction process. A well-thought-out plan will help you stay organized and ensure a smooth building experience.
Preparing the Materials
Preparing the materials is a fundamental step in ensuring your dining space table is both sturdy and attractive. Begin by cutting the wood to size according to your blueprint. Precision is key here, as accurate measurements will make assembly easier and result in a better-finished product. Once the wood pieces are cut, sand the surfaces thoroughly to remove any rough edges and create a smooth finish. This not only enhances the appearance but also makes the table safer and more comfortable to use. Pre-drilling holes for assembly is the next step, which helps prevent the wood from splitting and ensures a strong, secure fit when you assemble the table. Taking the time to properly prepare your materials will set a solid foundation for the construction process and contribute to a high-quality final product.
Building the Tabletop
Building the tabletop is where your dining space table starts to take shape. Begin by carefully assembling the tabletop pieces according to your design. Lay the boards flat and align them to ensure a smooth and even surface. Use wood glue to secure the edges, and clamp the boards together tightly while the glue sets. To reinforce the bond, add dowels or biscuits between the boards and secure them with screws or brackets. After the boards are firmly in place, sand the entire surface thoroughly to achieve a seamless finish. This step is crucial for removing any unevenness and preparing the wood for staining or painting. Finally, apply your chosen finish, whether it’s a stain for a natural look or a paint for a more modern feel. This not only enhances the appearance but also protects the wood, ensuring your tabletop is both beautiful and durable.
Constructing the Table Legs and Base
Constructing the table legs and base is a critical step that impacts both the stability and aesthetic of your dining space table. First, decide on the type of table legs you want, whether straight, tapered or turned, as each style offers a different look and feel. Straight legs provide a modern, minimalist appearance, tapered legs add a touch of elegance, and turned legs give a classic, ornate look. Once you’ve chosen your design, begin building the leg structures. Cut the legs to the desired length and shape, ensuring they are all identical for even support. Securely attach the legs to the base using sturdy joinery techniques such as mortise and tenon or metal brackets. Ensure the legs are perfectly aligned and level to prevent wobbling. Finally, reinforce the connection with additional screws or braces if necessary. Proper construction and attachment of the legs and base are essential for creating a strong, durable table that will last for years.
Assembling the Table
Assembling the table is the final step in bringing your dining space table to life. Begin by carefully connecting the tabletop to the base. Align the tabletop with the leg structure, ensuring it is centered and evenly positioned. Use strong screws or bolts to secure the tabletop to the base, attaching through the pre-drilled holes to avoid splitting the wood. Once connected, check for stability and balance by gently rocking the desk. If there is any wobbling, adjust the legs or add additional supports to ensure a firm, level surface. Finally, double-check that all components are securely fastened and that the table is sturdy. This thorough assembly process will ensure that your dining space table is not only visually appealing but also functional and reliable for everyday use.
Finishing Touches
Adding the finishing touches is essential to give your dining room table a polished and professional look. Start by deciding whether to stain or paint the desk, depending on the aesthetic you want to achieve. Staining highlights the natural grain of the wood, giving it a rich, warm appearance, while painting offers a broader range of color options to match your decor. After applying the stain or paint, let it dry completely before moving on to the next step. Apply a protective finish, such as varnish or polyurethane, to seal the surface and protect it from scratches, spills, and daily wear and tear. This layer not only enhances the table’s durability but also adds a subtle sheen. Finally, perform a final sanding with fine-grit sandpaper to smooth out any imperfections and achieve a flawless finish. A quick polish will make your table shine, completing your project and leaving you with a beautiful, custom-made dining area table.
Maintenance Tips
Maintaining your dining room table properly ensures it remains beautiful and functional for years. Regular cleaning and care are essential; wipe the desk down with a soft, damp cloth after each use to remove dust and spills. Avoid harsh chemicals that can damage the finish, and instead, use mild soap and water or a wood-safe cleaner. To handle wear and tear, address minor scratches and dents promptly by lightly sanding and reapplying the finish if necessary. Protect the desk from heat and moisture by using coasters, placemats, and tablecloths. For long-term preservation, periodically inspect the desk for signs of damage and perform touch-ups as needed. Applying a fresh coat of protective finish every few years will help maintain its durability and appearance. By following these maintenance tips, you can ensure your dining space table remains a cherished piece of furniture in your home.
Conclusion
Building your own dining space table is a rewarding project that combines creativity, craftsmanship, and practicality. From the initial planning and design stages to the final finishing touches, each step offers an opportunity to create a piece that reflects your style and meets your needs. By carefully selecting materials, accurately preparing components, and meticulously assembling the desk, you can ensure a durable and beautiful result. Regular maintenance will keep your table looking great and functioning well for years to come. Whether you’re enjoying a family meal, hosting a dinner party, or simply admiring your handiwork, your custom-built dining area desk will stand as a testament to your skill and dedication. So roll up your sleeves, gather your tools, and take pride in creating a desk that will be a central part of your home for generations.