Painting your dining room table can be a rewarding way to refresh your space and add a personal touch to your home decor. Whether you’re aiming for a complete transformation with bold colors or a subtle update with a neutral palette, the process allows for creativity and customization. In this guide, we will explore various ideas and techniques for painting your dining room table, ensuring you achieve a professional finish that enhances your dining experience. From selecting the right materials and colors to applying finishing touches, we’ll cover everything you need to know to turn your table into a stunning centerpiece that reflects your style and elevates your dining room’s ambiance.
1. Assess Table Condition and Material
Before you start painting, it’s essential to assess the condition and material of your dining room table. Inspect the table for any damage, such as scratches, dents, or loose joints, and determine the type of material it’s made from, be it wood, metal, or composite. Understanding the material will guide your choice of paint and primer, ensuring proper adhesion and durability. If the table has a previous finish, you’ll need to decide whether to remove it or paint over it, which can impact the preparation steps. By thoroughly assessing the table’s condition and material, you set the stage for a successful and long-lasting paint job.
2. Choose the Right Paint Type
Choosing the right paint type is crucial for achieving a durable and attractive finish on your dining room table. Consider the table’s material and the desired finish when selecting your paint. For wood tables, latex or oil-based paints work well, offering a smooth and resilient surface. Chalk paint is another popular option, known for its matte finish and vintage charm. For metal tables, look for paints specifically designed for metal surfaces to prevent chipping and rust. Additionally, think about the level of sheen you prefer—matte, satin, or glossy. Each type offers a different look and feel, so pick one that complements your dining room’s overall decor. By carefully choosing the right paint type, you ensure a beautiful and lasting transformation of your dining room table.
3. Select a Color Scheme
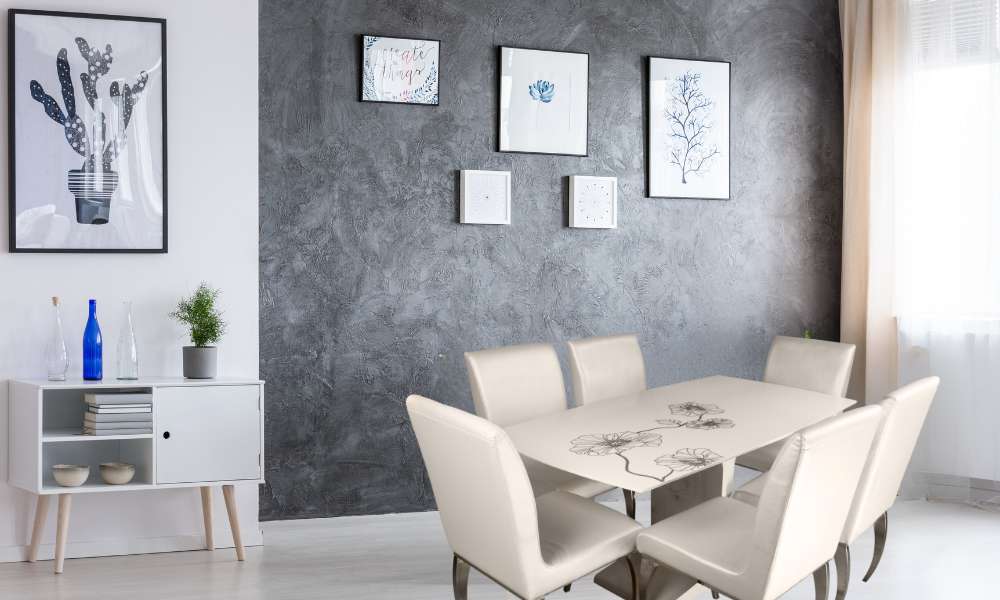
Selecting a color scheme for your dining room table is an exciting step that can significantly impact the overall look of your dining space. Start by considering the existing color palette of your dining room, including the walls, flooring, and surrounding furniture. Choose colors that either complement or contrast with these elements to create a cohesive or striking look. For a timeless and versatile option, neutral colors like white, gray, or beige work well.
If you want to make a bold statement, opt for vibrant hues like navy blue, emerald green, or rich burgundy. Additionally, think about the mood you want to evoke—warm tones can create a cozy atmosphere, while cool tones can make the space feel calm and elegant. By thoughtfully selecting a color scheme, you can ensure your painted dining space table enhances the overall aesthetic and ambiance of your dining area.
4. Gather Necessary Painting Supplies
Gathering the necessary painting supplies is a crucial step to ensure a smooth and efficient process when painting your dining room table. Start by collecting high-quality paint and primer suitable for your table’s material. You’ll also need sandpaper or a sanding block to smooth the surface and remove any old finish. Drop cloths or newspapers will protect your floor and surrounding areas from paint spills. Invest in a variety of brushes and rollers to apply the paint evenly, and have painter’s tape on hand to mask off areas you don’t want to paint. Don’t forget safety gear, such as gloves and a mask, to protect yourself from fumes and chemicals. Having all these supplies ready before you start will make the painting process more organized and stress-free, ensuring a professional-looking finish for your dining area table.
5. Prepare the Table Surface
Preparing the table surface is a crucial step for achieving a smooth and long-lasting paint finish. Begin by thoroughly cleaning the table to remove any dust, grease, or grime. Use a mild detergent and water, then dry it completely. Next, sand the surface to create a rough texture for better paint adhesion, focusing on any areas with existing finishes. After sanding, wipe down the table with a damp cloth to remove any sanding dust. If there are any holes or dents, fill them with wood filler and sand smooth once dry. Properly preparing the surface ensures that the paint adheres well and provides a flawless finish.
6. Sand for a Smooth Finish
Sanding your table is essential for achieving a smooth, professional finish. Start with medium-grit sandpaper to remove any old paint or varnish and to smooth out imperfections. Then, switch to fine-grit sandpaper for a finer, more polished surface. Sand in the direction of the wood grain to avoid scratches. After sanding, wipe the table with a damp cloth to remove all dust and debris. This step ensures the paint adheres evenly and smoothly, giving your dining area table a flawless, refined appearance.
7. Apply Primer Coat
Applying a primer coat is a vital step in painting your dining room table. Primer helps the paint adhere better and ensures a more even, durable finish. Choose a primer suitable for your table’s material, whether it’s wood, metal, or another surface. Use a brush or roller to apply a thin, even layer of primer, covering the entire surface. Allow it to dry completely, following the manufacturer’s instructions. This base coat not only enhances the paint’s adherence but also blocks stains and provides a uniform surface for the topcoat, resulting in a smooth, professional-looking finish.
8. Paint Multiple Thin Layers
For a flawless finish, paint your dining room table with multiple thin layers rather than one thick coat. Start by applying a thin, even layer of paint using a high-quality brush or roller. Allow it to dry completely before lightly sanding with fine-grit sandpaper to smooth out any imperfections. Wipe away the dust and apply the next layer. Repeat this process for at least two to three coats, ensuring each layer is thin and even. This technique prevents drips and streaks, resulting in a smooth, durable finish that looks professionally done.
9. Consider Decorative Techniques
To add a unique flair to your dining room desk, consider incorporating decorative techniques. Stenciling allows you to create intricate designs and patterns effortlessly. Distressing can give your table a charming, vintage look by lightly sanding the edges and corners after painting. You can also use painter’s tape to create geometric designs or stripes for a modern touch. For a more artistic approach, try hand-painting details or using a sponge to add texture. These techniques not only enhance the table’s aesthetic but also showcase your creativity, making your dining area table a standout piece.
10. Use Stencils or Patterns
Using stencils or patterns is a great way to add visual interest and personality to your dining room desk. Choose stencils that complement your décor style, whether it’s floral, geometric, or abstract. Secure the stencil in place with painter’s tape and apply paint with a brush or sponge, using a dabbing motion to avoid bleeding. For patterns, you can use painter’s tape to create stripes, chevrons, or other designs. Carefully remove the stencil or tape once the paint is dry to reveal crisp, clean lines. This simple technique can transform your table into a unique and stylish focal point.
11. Add Protective Sealant
Adding a protective sealant is essential to preserve your newly painted dining room desk. Choose a clear sealant appropriate for your table’s material and the type of paint used. Apply a thin, even coat using a brush or roller, ensuring full coverage. Allow it to dry completely, then lightly sand with fine-grit sandpaper to ensure a smooth finish. Apply additional coats as needed, typically two to three, for optimal protection. This sealant will safeguard the paint from scratches, spills, and daily wear, keeping your table looking fresh and vibrant for years to come.
12. Allow Proper Drying Time
Allowing proper drying time is crucial for a durable and flawless finish on your dining room desk. After applying each coat of paint or sealant, let it dry thoroughly according to the manufacturer’s instructions, usually several hours to overnight. Rushing this step can lead to smudges, uneven surfaces, or paint peeling. Ensuring each layer dries completely before proceeding not only improves the overall appearance but also enhances the longevity of the finish. Patience in this stage will reward you with a beautifully painted table that stands up to daily use.
13. Reassemble Table Components
Reassembling the table components is the final step in completing your dining room desk makeover. Once all the paint and sealant layers are thoroughly dry, carefully reattach any removed parts, such as legs or leaves. Ensure all screws and bolts are tightened securely to maintain stability. Take this opportunity to inspect the desk for any touch-ups needed. Proper reassembly not only restores the table’s functionality but also showcases your hard work, leaving you with a beautifully transformed dining area desk ready for use.
14. Style with Complementary Decor
Styling your newly painted dining room desk with complementary decor can enhance its appeal and tie the room together. Choose table linens, such as runners or placemats, that complement the table’s color scheme. Add a centerpiece like a vase of fresh flowers, a bowl of fruit, or decorative candles to create a focal point. Incorporate matching or contrasting dishware and utensils to complete the look. By thoughtfully selecting decor items that complement your desk, you can create a cohesive and inviting dining space that highlights your table’s new look.
15. Maintain Painted Table Regularly
Regular maintenance is key to preserving the beauty of your painted dining room desk. Clean the surface gently with a soft, damp cloth and avoid harsh chemicals that can damage the finish. Address spills promptly to prevent stains, and use placemats and coasters to protect the paint from heat and moisture. Periodically check for chips or scratches, touching up the paint as needed to keep the table looking fresh. By maintaining your desk regularly, you can ensure its vibrant appearance and longevity, keeping it a stunning centerpiece in your dining area for years to come.
Conclusion
Painting your dining room desk can be a rewarding way to refresh your space and showcase your style. By carefully assessing the desk’s condition, choosing the right materials, and following proper preparation and painting techniques, you can achieve a professional-looking finish. Incorporate decorative touches, allow adequate drying time, and protect your work with a sealant to ensure lasting beauty. Regular maintenance will keep your table looking vibrant and new. With these steps, your dining area desk can become a stunning and functional centerpiece for all your gatherings.